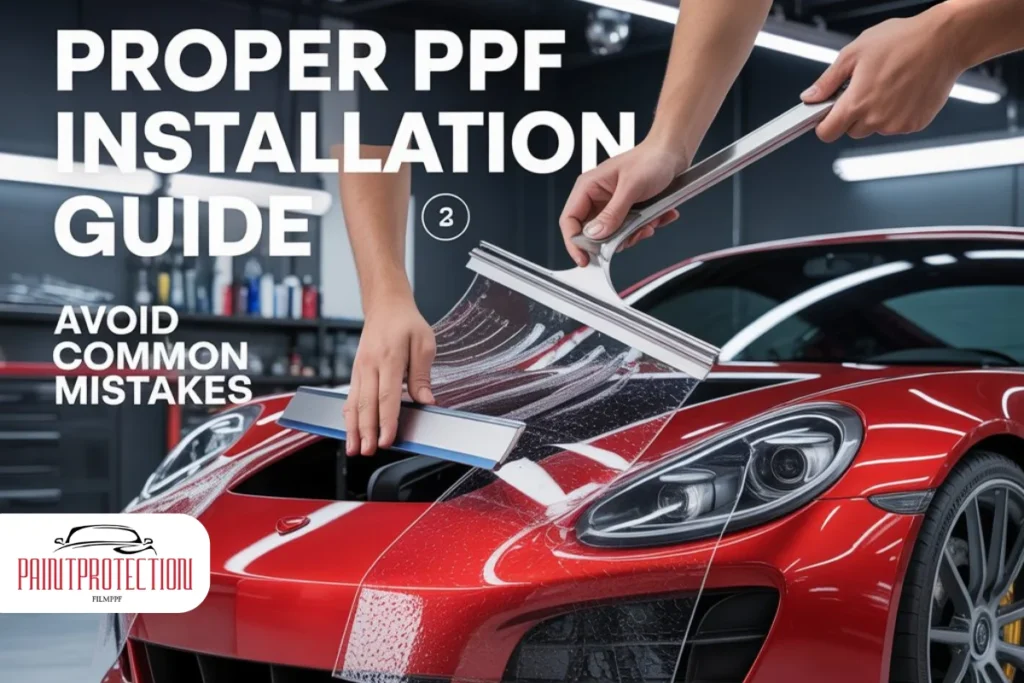
Paint Protection Film, commonly called PPF, is one of the smartest ways to protect your vehicle’s paint from rock chips, scratches, UV damage, and road debris. But here’s the honest truth most people do not tell you upfront. Installing PPF is not forgiving. One wrong move can leave bubbles, stretched film, or visible lines that ruin the look of your car.
That is exactly why this guide exists.
If your goal is to install PPF without screwing it up, this 2026 guide will walk you through what actually works, what usually goes wrong, and how to get professional-level results whether you are doing it yourself or deciding when to call in experts.
This article is written for real car owners in the USA who care about long-term paint protection and want clear, practical advice without hype.
What Does “Install PPF Without Screwing” Really Mean?
When people search for Install PPF Without Screwing, they are usually worried about these common problems:
- Trapped air bubbles that never disappear
- Misaligned edges that collect dirt
- Stretch marks in the film
- Visible seams and lifting corners
- Wasted money on ruined film
Installing paint protection film correctly is about control, patience, and preparation, not speed or brute force.
Modern PPF materials in 2026 are more flexible, self-healing, and durable than ever. But even the best film can fail if installed incorrectly.
Understanding Modern PPF in 2026
Before touching your car, you need to understand what you are working with.
What Is Paint Protection Film Made Of?
Most high-quality PPF today uses:
- Thermoplastic polyurethane (TPU)
- Self-healing top coats
- UV-resistant clear layers
- Hydrophobic coatings
These layers work together to absorb impacts and recover from light scratches with heat.
Why Installation Matters More Than Film Brand
A common mistake is assuming expensive PPF installs itself. It does not.
Even premium brands will look terrible if:
- The surface is not properly cleaned
- The film is overstretched
- The slip solution ratio is wrong
- Edges are not wrapped correctly
Skill matters as much as materials.
Should You DIY or Go Professional?
This question comes up constantly, and the honest answer depends on where you are applying PPF.
DIY PPF Installation Makes Sense For:
- Headlights
- Door cups
- Interior trim
- Small flat panels
- Partial hood kits (pre-cut)
Professional Installation Is Strongly Recommended For:
- Full hood and fenders
- Bumpers with complex curves
- Mirrors
- Full car wraps
- Luxury or new vehicles
If you are new, start small. Trying to wrap a front bumper on your first attempt is how most people waste expensive film.
Tools You Need to Install PPF Without Screwing It Up
Skipping tools is one of the fastest ways to fail. Here is what you actually need.
Essential PPF Installation Tools
- Spray bottles (one slip solution, one tack solution)
- Distilled water
- Baby shampoo or PPF-approved soap
- Isopropyl alcohol (70% or higher)
- Soft squeegee with suede edge
- Microfiber towels (lint-free)
- Heat gun or hair dryer
- Sharp snap-off blade
Using household substitutes often causes contamination, scratches, or uneven pressure.
Step-by-Step: How to Install PPF Without Screwing It Up
This is the core process used by professional installers, simplified for real users.
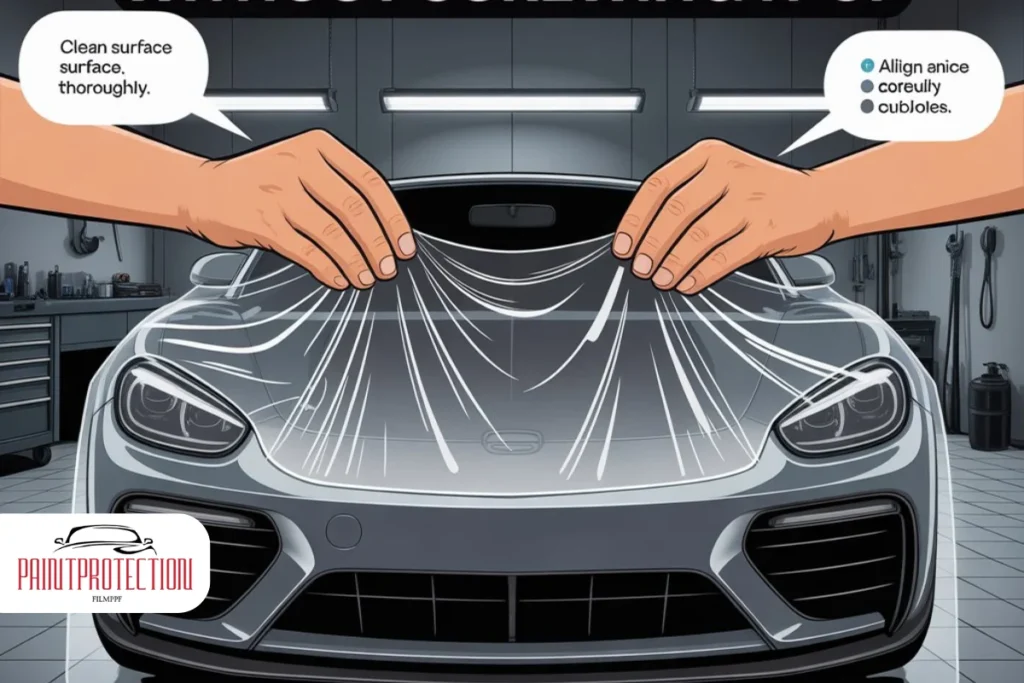
Step 1: Wash and Decontaminate the Vehicle
This step matters more than people think.
- Hand wash using pH-neutral car shampoo
- Remove tar, bugs, and road grime
- Use a clay bar if needed
- Dry completely
Any dirt left behind will show forever under the film.
Step 2: Prep the Surface Properly
After washing:
- Wipe the panel with isopropyl alcohol
- Remove wax, sealants, or coatings
- Pay attention to edges and corners
Clean paint is non-negotiable if you want long-term adhesion.
Step 3: Mix the Correct Slip Solution
Most mistakes start here.
Basic slip solution ratio:
- Distilled water
- 2 to 3 drops of baby shampoo per liter
Too much soap and the film will never stick. Too little and it will grab instantly.
Step 4: Position the Film Without Stretching
This is where patience matters.
- Spray the panel generously
- Spray the adhesive side of the PPF
- Lay the film gently into place
- Float it into alignment
Do not pull or stretch unless absolutely necessary.
Step 5: Lock the Center First
Professional installers always work from the center outward.
- Use light, consistent pressure
- Push solution toward the edges
- Avoid hard strokes that crease the film
This prevents trapped moisture and distortion.
Step 6: Use Heat Carefully
Heat is a tool, not a fix.
- Warm the film slightly to relax it
- Never overheat
- Keep the gun moving
Overheating causes permanent stretch marks that cannot self-heal.
Step 7: Seal Edges and Corners
Edges are where most DIY installs fail.
- Switch to tack solution (water + alcohol)
- Dry the edge area
- Apply firm but controlled pressure
If edges lift, dirt and moisture will follow.
Common Mistakes That Ruin PPF Installs
Learning what not to do is just as important.
Rushing the Job
PPF installation is slow by nature. If you rush:
- You trap air
- You misalign panels
- You stretch the film
Take breaks. Professionals do.
Using Too Much Force
Aggressive squeegeeing causes:
- Creases
- Distortion
- Visible lines
Let the solution do the work.
Installing in the Wrong Environment
Ideal conditions:
- Indoor space
- Dust-free area
- Temperature between 60–75°F
Outdoor installs invite contamination and uneven adhesion.
How Long Does PPF Take to Cure?
This question shows up in “People Also Ask” searches for good reason.
Typical Cure Time in 2026
- Initial set: 12–24 hours
- Full cure: 5–7 days
During this time:
- Avoid washing the car
- Avoid high pressure water
- Do not pick at edges
Self-healing properties activate fully after curing.
How to Tell If Your PPF Install Is Failing
Not every issue shows immediately.
Warning Signs to Watch For
- Persistent bubbles after one week
- Edges lifting repeatedly
- Cloudy or hazy appearance
- Dirt collecting under the film
Catching issues early can save the install.
Cost Reality: DIY vs Professional in the USA
Understanding cost helps you make smarter decisions.
| Installation Type | Average Cost (USD) |
|---|---|
| DIY partial kit | $150 – $400 |
| DIY full kit | $600 – $1,200 |
| Professional front end | $1,500 – $2,500 |
| Professional full car | $4,500 – $7,500 |
Professional installs cost more because you are paying for experience, not just film.
Is PPF Still Worth It in 2026?
Yes, especially with rising vehicle prices and thinner factory paint.
Modern PPF offers:
- Better optical clarity
- Improved self-healing
- Longer warranties
- Hydrophobic surfaces
When installed correctly, it preserves resale value and reduces repainting costs.
When You Should Stop and Call a Pro
If any of the following happen, stop immediately:
- Film creases sharply
- Adhesive touches itself
- Dirt gets trapped deep under the film
- Alignment is completely off
Trying to “save it” often makes things worse.
Final Thoughts: Install PPF Without Screwing It Up
Installing paint protection film is not impossible, but it demands patience, preparation, and realistic expectations.
If you want to install PPF without screwing it up, remember this:
- Start with small panels
- Use the right tools
- Control your environment
- Respect the material
And if the job feels beyond your comfort level, professional installation is not a failure. It is often the smarter investment.
FAQ
1. Can beginners install PPF without screwing it up?
Yes, beginners can install PPF successfully on small, flat areas using pre-cut kits, proper tools, and patience.
2. How long does PPF last when installed correctly?
High-quality PPF typically lasts 7 to 10 years with proper maintenance and correct installation.
3. Are bubbles normal after PPF installation?
Small water bubbles are normal and usually disappear within a few days. Air bubbles that remain may indicate a problem.
4. Does PPF damage car paint when removed?
No, professionally installed PPF does not damage factory paint when removed properly.
5. Is DIY PPF cheaper in the long run?
DIY can save money initially, but mistakes often lead to wasted film. Professional installs usually cost less over time for large areas.